- To generate a meeting you need to add schedules on your course as shown here https://doc.skillings.io/add-schedules/.
- After adding the schedule in the calendar and the proposed schedule is accepted by the company, students can now book the course at the specific scheduled time you created in the calendar.
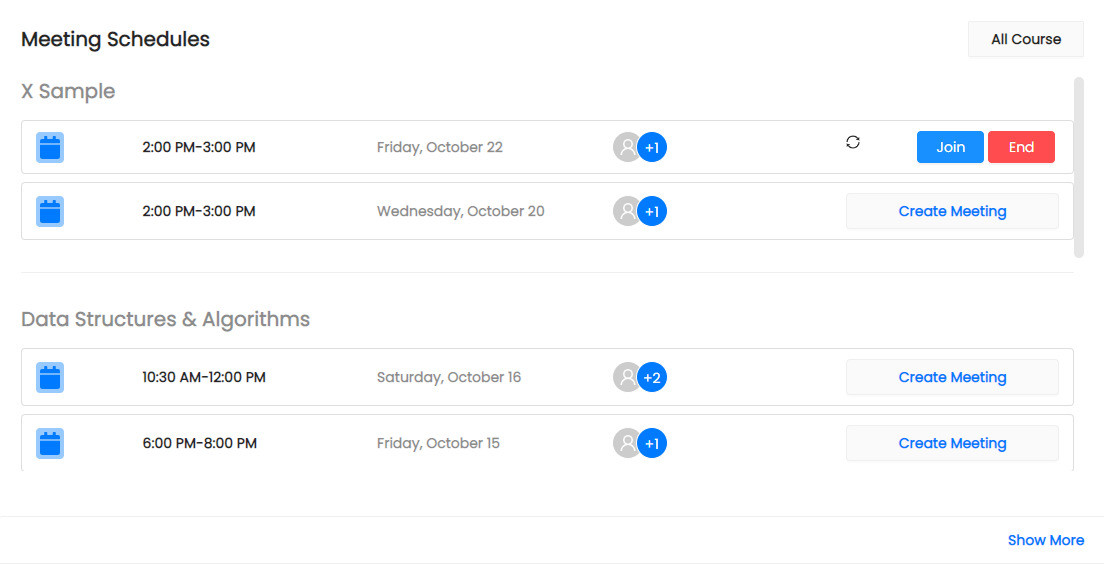
- After the students have finished booking your course at the scheduled time, you could now create a meeting in the tutor's Dashboard and in the Meeting Schedules list.
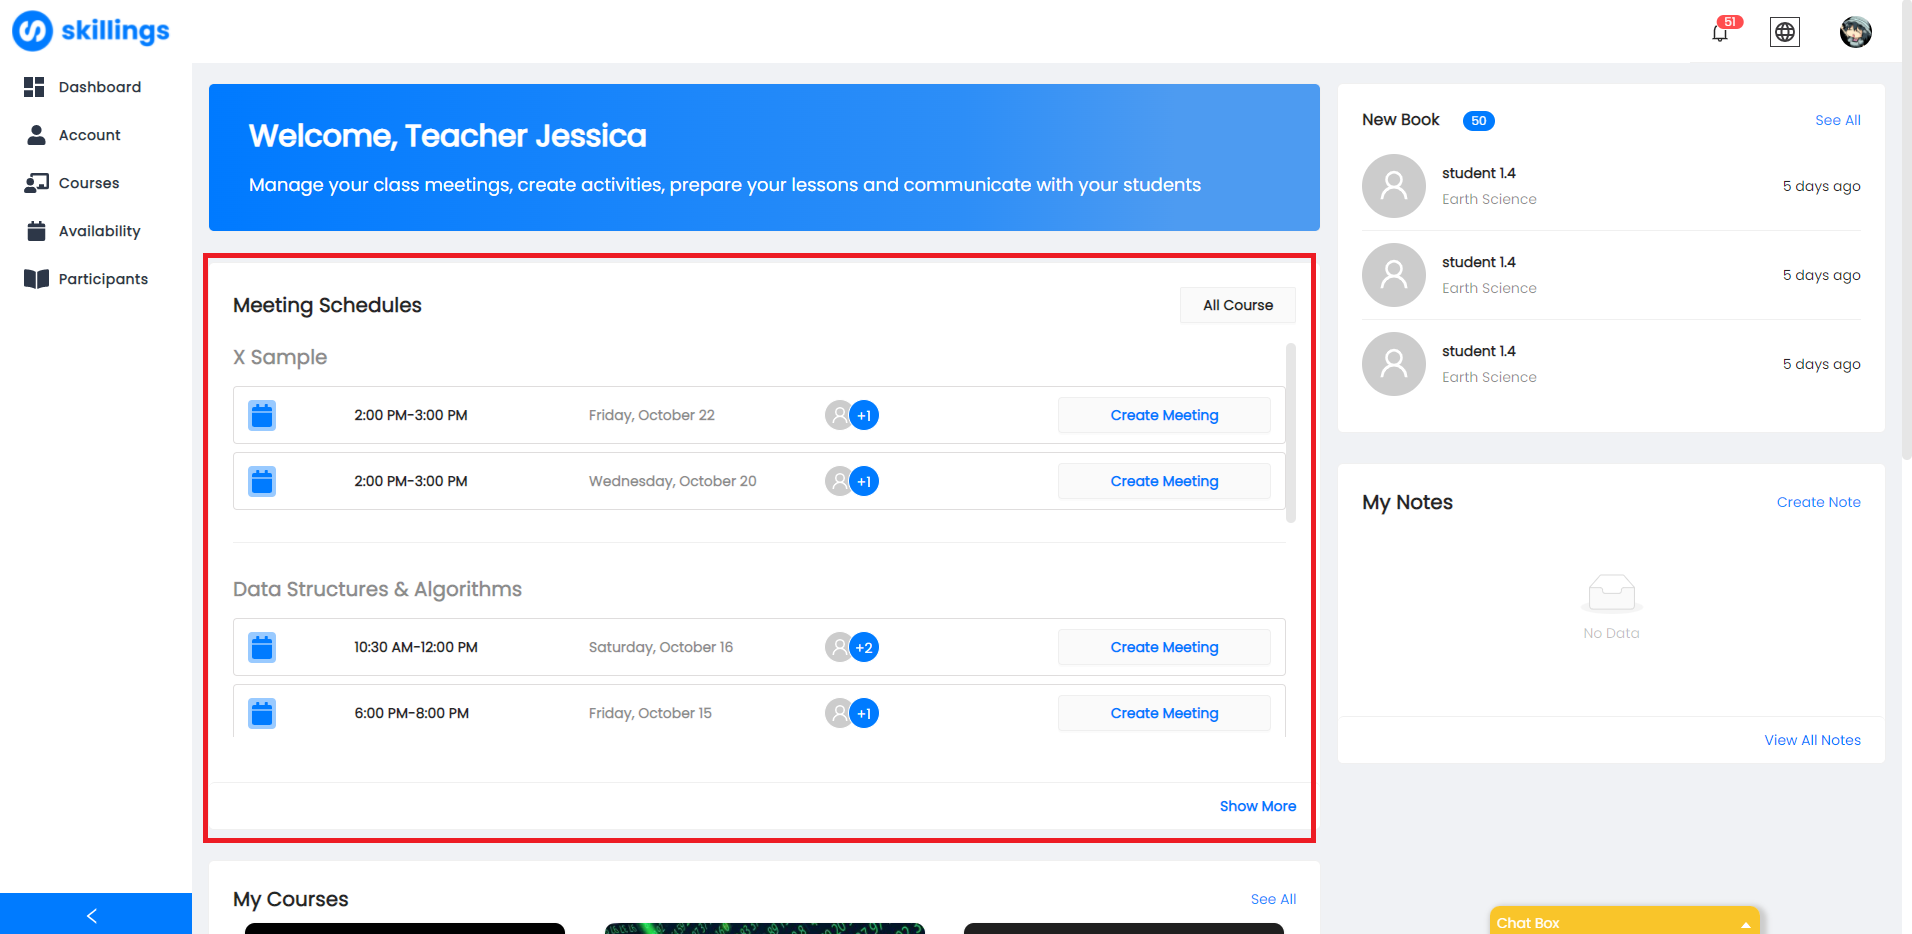
4. In the Meeting Schedules list, click the Create Meeting button, it gives you two choices in creating a meeting, these are Create Meeting and Add own Link. Create Meeting allows you to use the Skillings Video Meeting function. And if you press Add own link, you will be prompted by a pop-up that allows you to put the URL/link of other meeting platforms such as Google Meet and Zoom.

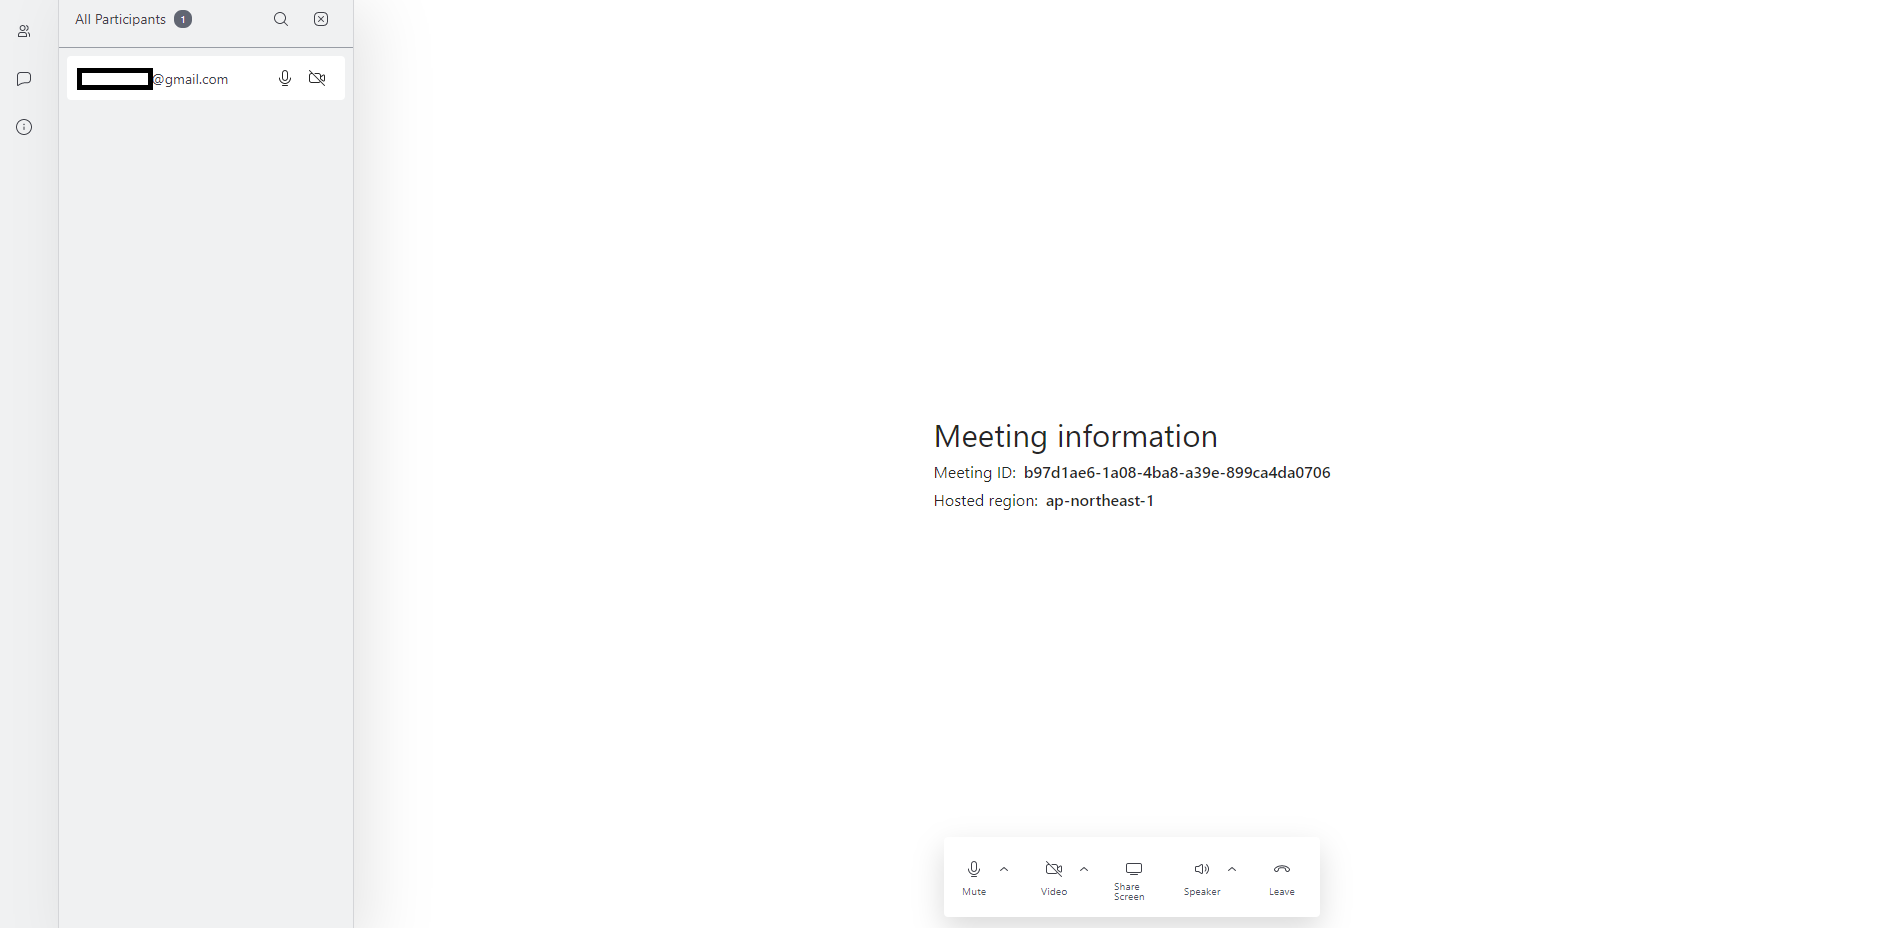

5. After choosing your meeting platform, you would see three buttons that replaced the Create Meeting button, and these are; Recreate Meeting Link, Join Meeting, End Meeting. Recreate Meeting Link allows you to create a new meeting again with the Create meeting or Add own link. Join Meeting allows you to join the meeting on the chosen meeting platform. Lastly, End Meeting allows you to end the meeting but clicking on this button does not allow you to create the meeting again therefore the meeting is terminated.