- Using your account as Administrator, you can see the Company Dashboard once you're logged in to Skillings.
- Click the Manage Courses menu located in the left side navigation bar

3. When the Manage Courses page is loaded, click the Add Course button at the upper right side of your screen.

4. Once clicked, it will display the thumbnail (picture of the course), the course title, description of the course, and if you have a video trailer for the course you could input it. After filling it up press the Next button.

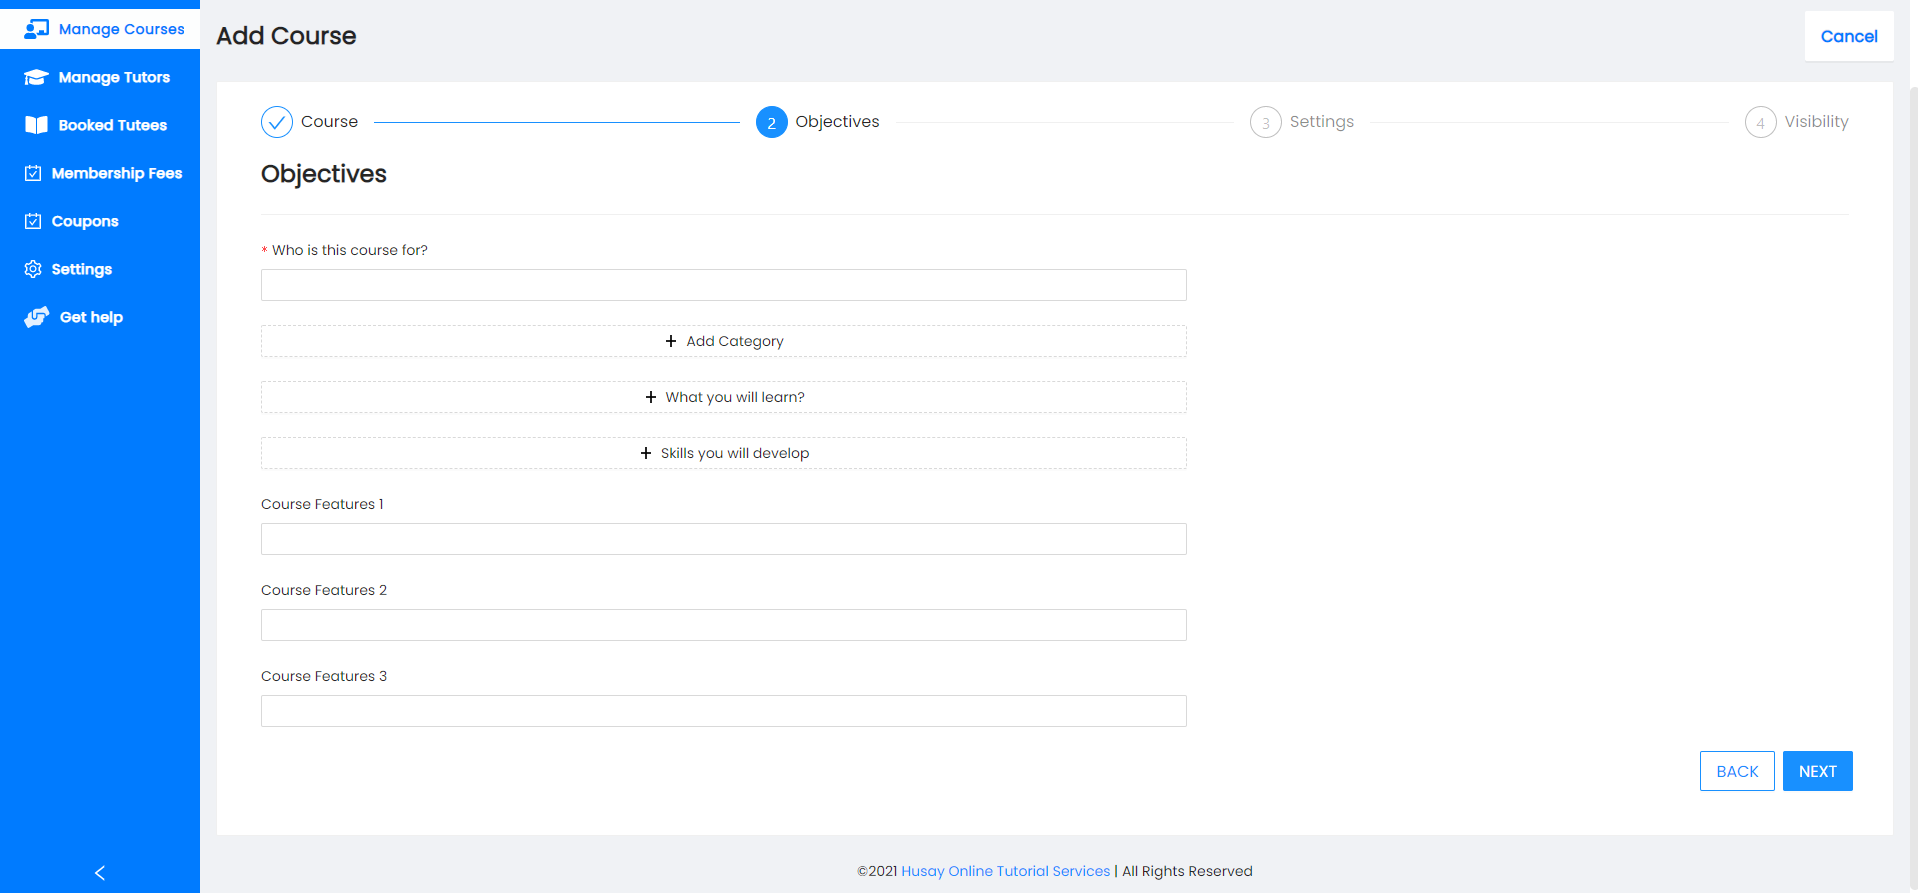
5. Next is the objectives of the course, here you fill up information what are the objectives of the course and its features. After filling up the details press the Next button.
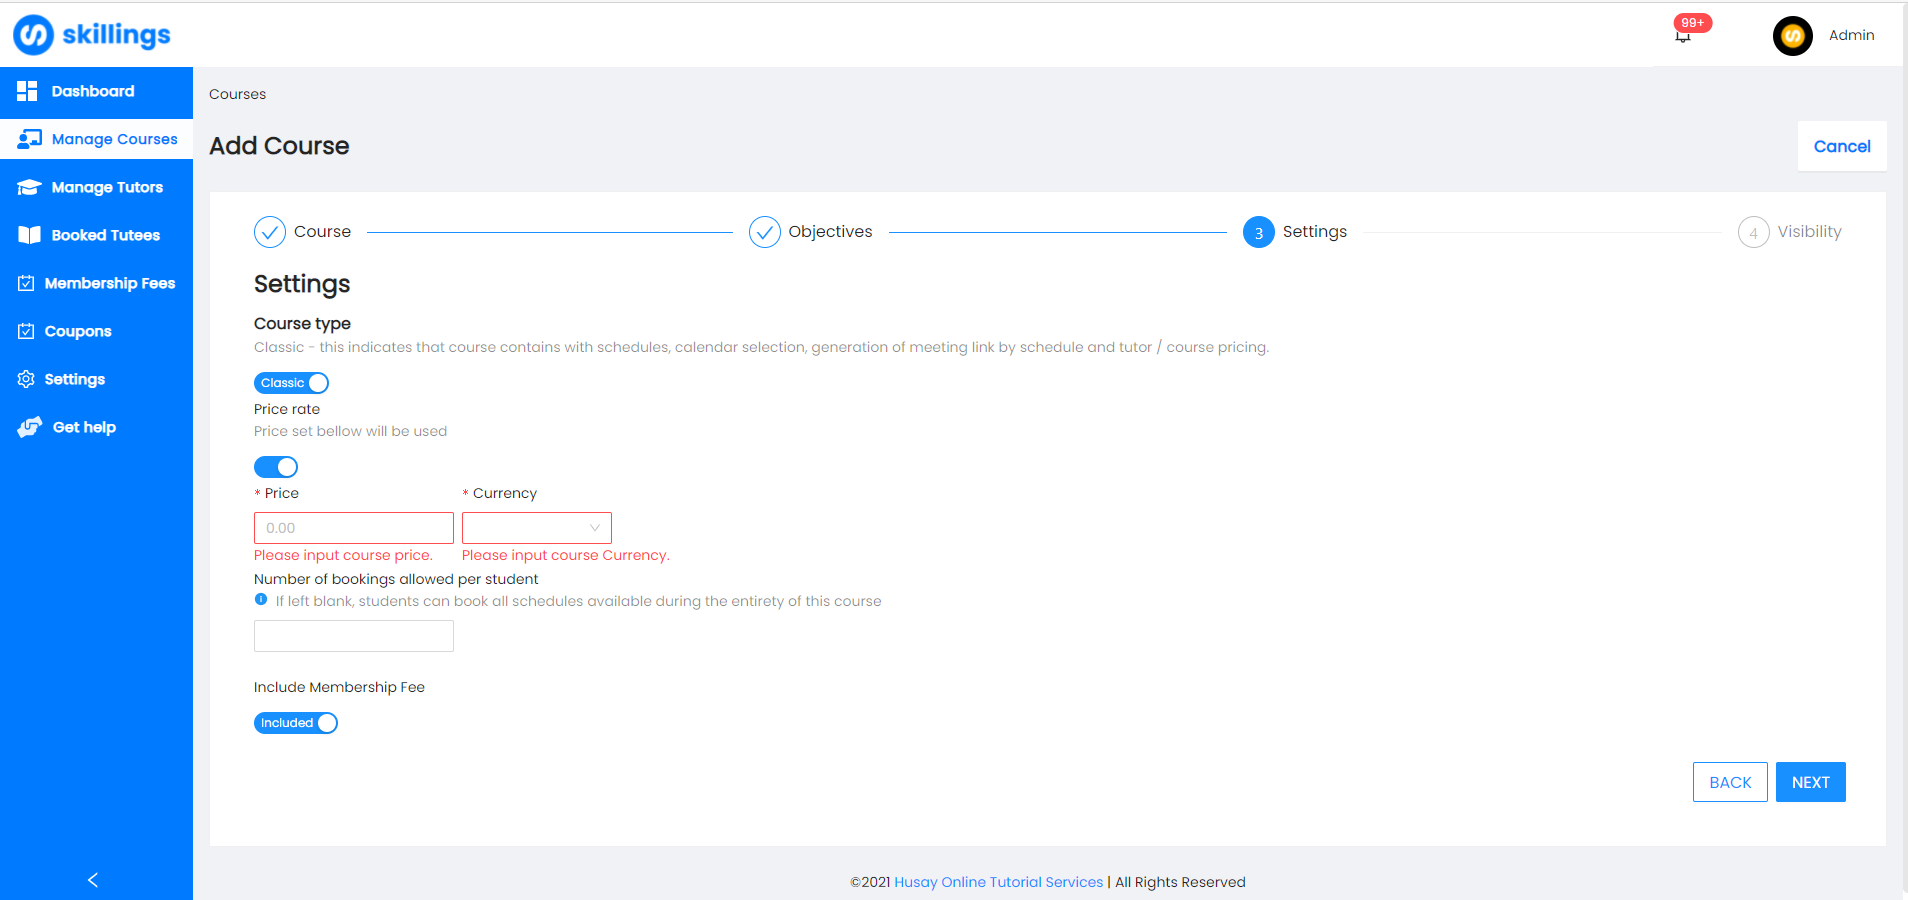
6. After that, the next one to fill up would be the settings. Here you manage what Type of course it can either be Classic or Package. Price Rate that can either be course rate or tutor rate, number of bookings allowed per student, and Membership Fee. After filling up, again press the Next button.
Note:
Classic - contains with schedules, calendar selection, generation of meeting link by schedule and tutor / course pricing.
Package - this will make the booking selection of course only. No schedules included or displayed.
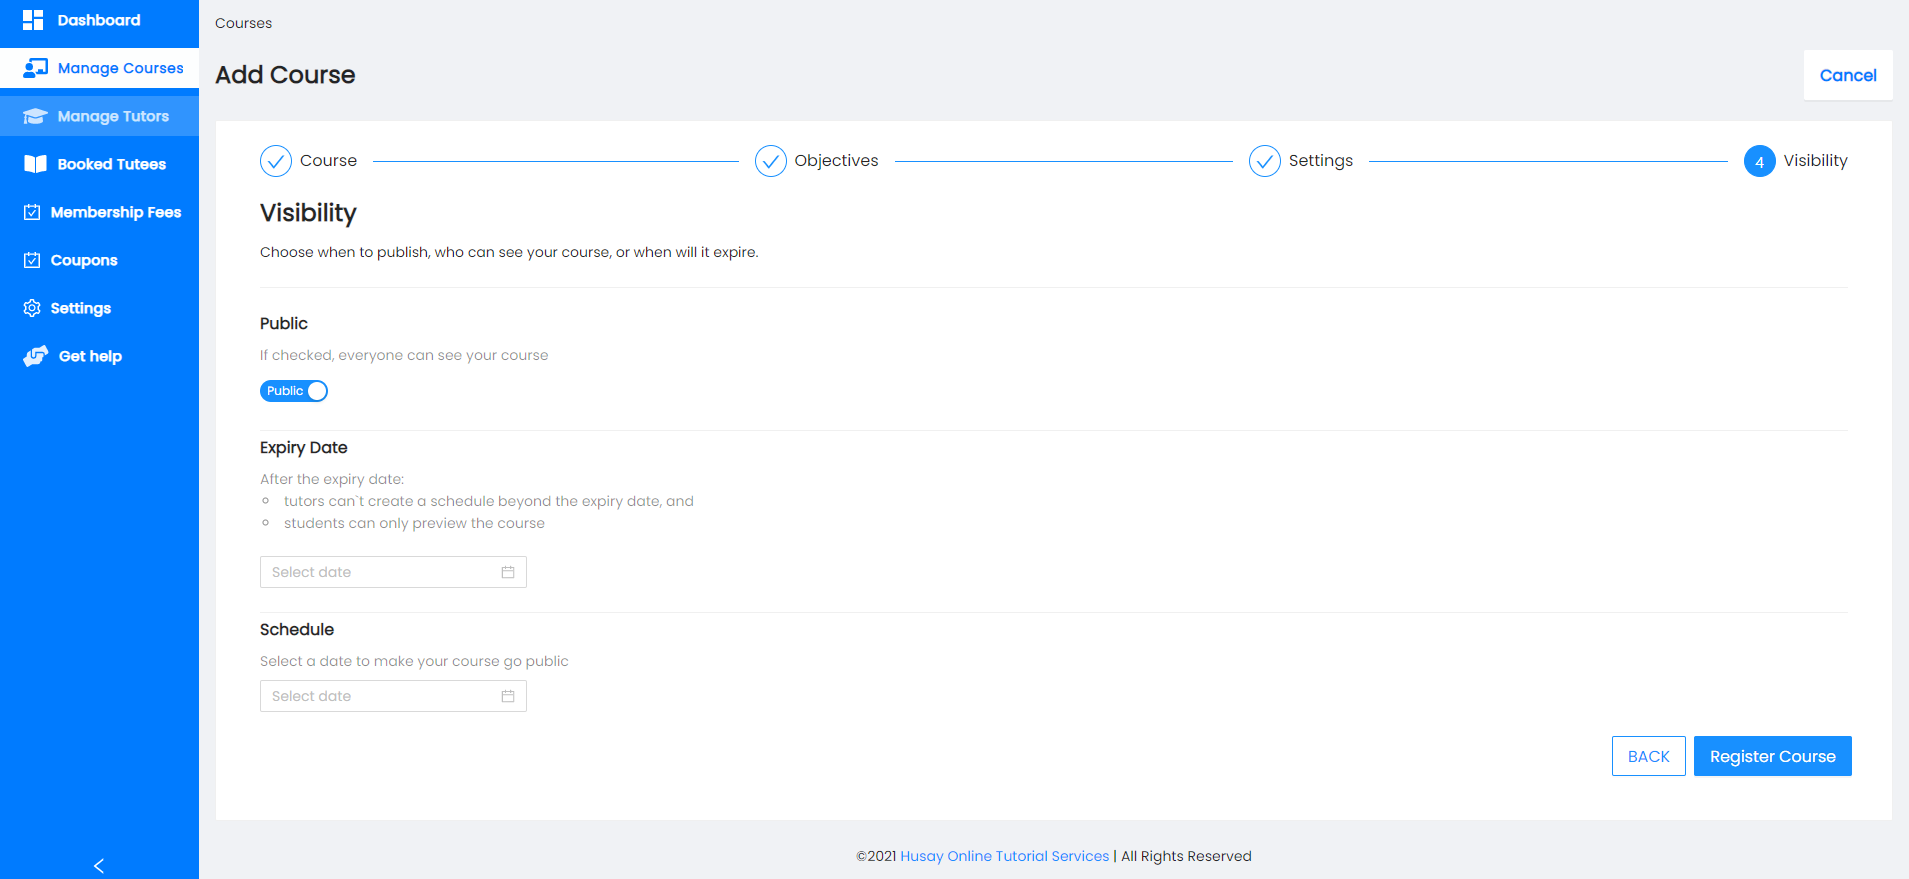
7. Next would be Visibility, this page allows you to manage the visibility of the course in which you could switch it between public or private. Expiry Date in which the Course would expire after that certain day, and Schedule of the time the course would be available to the public. After managing it, click the Register Course to add it in the list of course in your website.
8. After clicking the Register Course, you would be redirected to the Manage Course page where you see the list of courses you created.

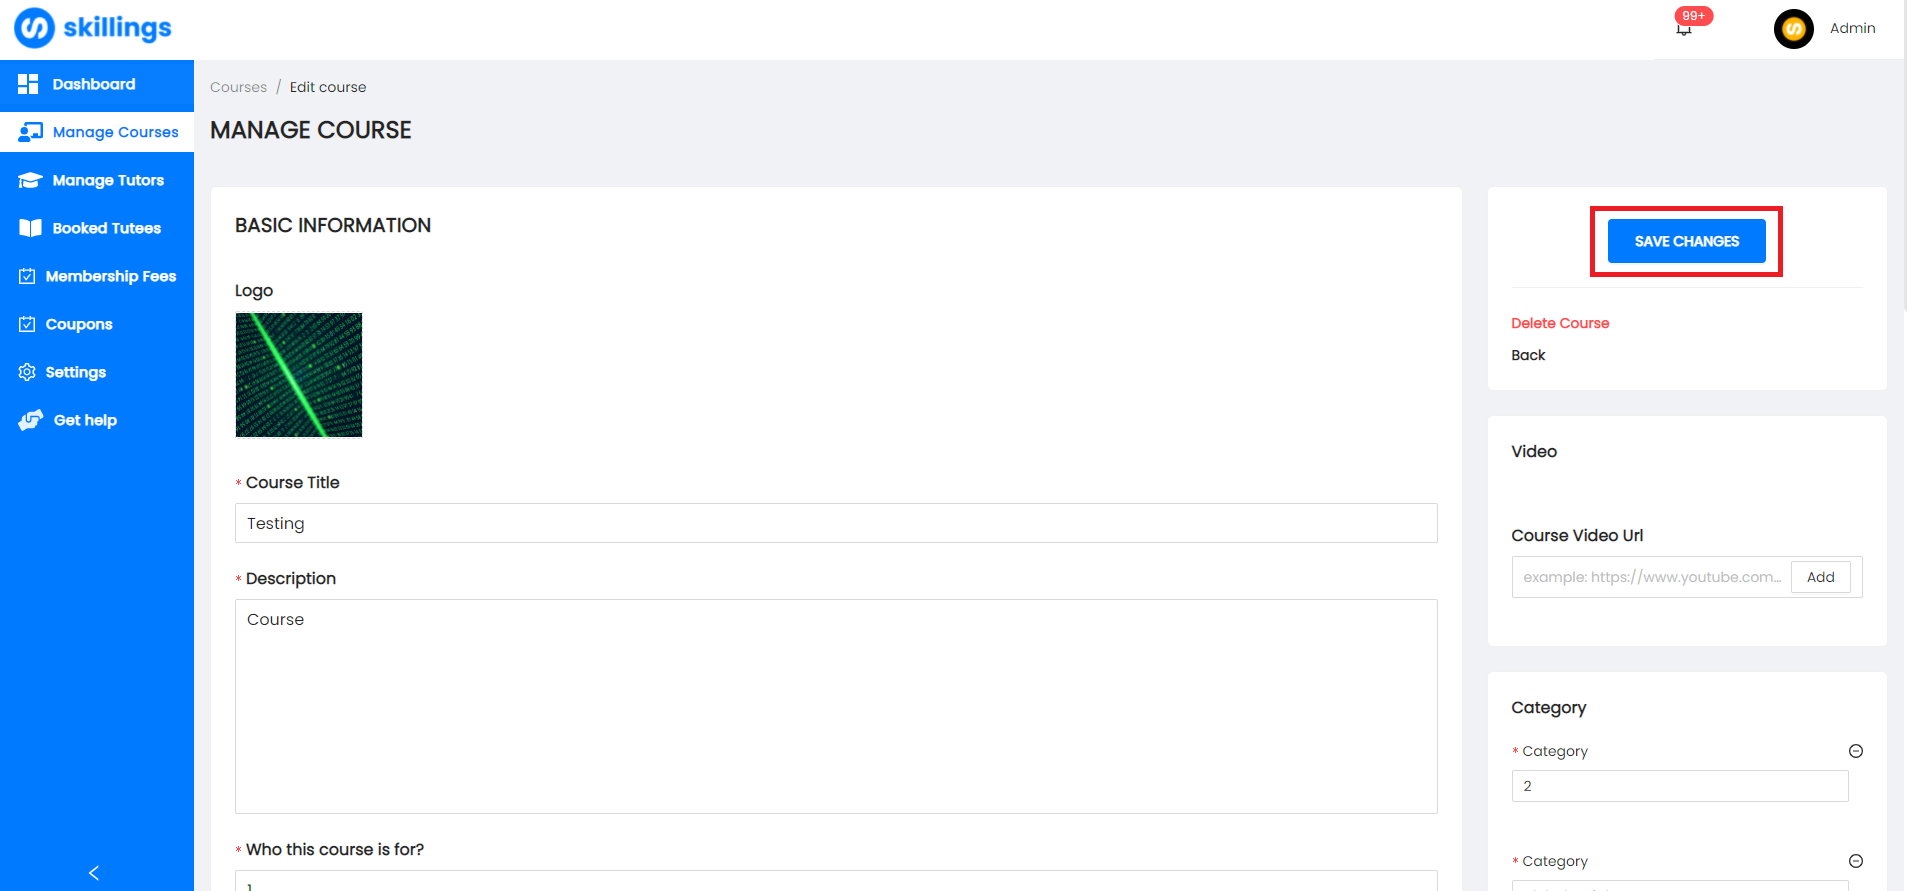
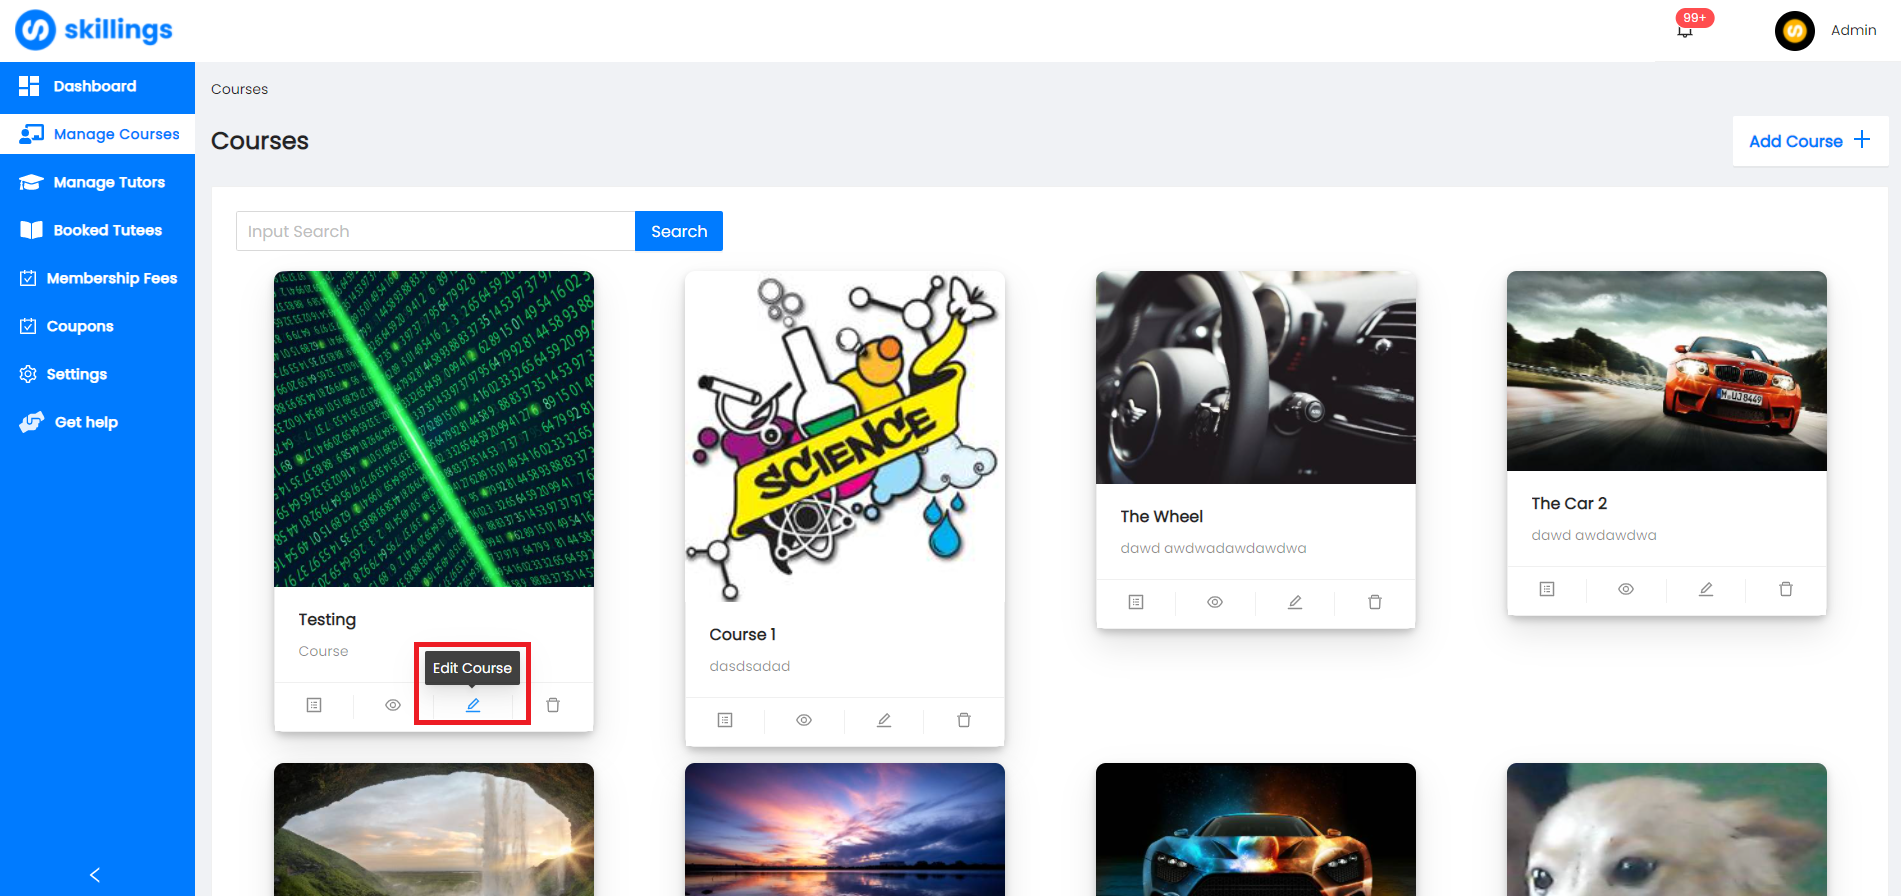
9. If you wish to edit your course's details, objectives, settings, and visibility click the Edit Course that has a pencil icon on the chosen course you want to edit.
10. After clicking Edit Course you would be in the Manage Course details, here you could manage and edit the details of the course. After editing it, press the Save Changes button to save your edit and a prompt will appear in the upper right that the changes are successfully updated.