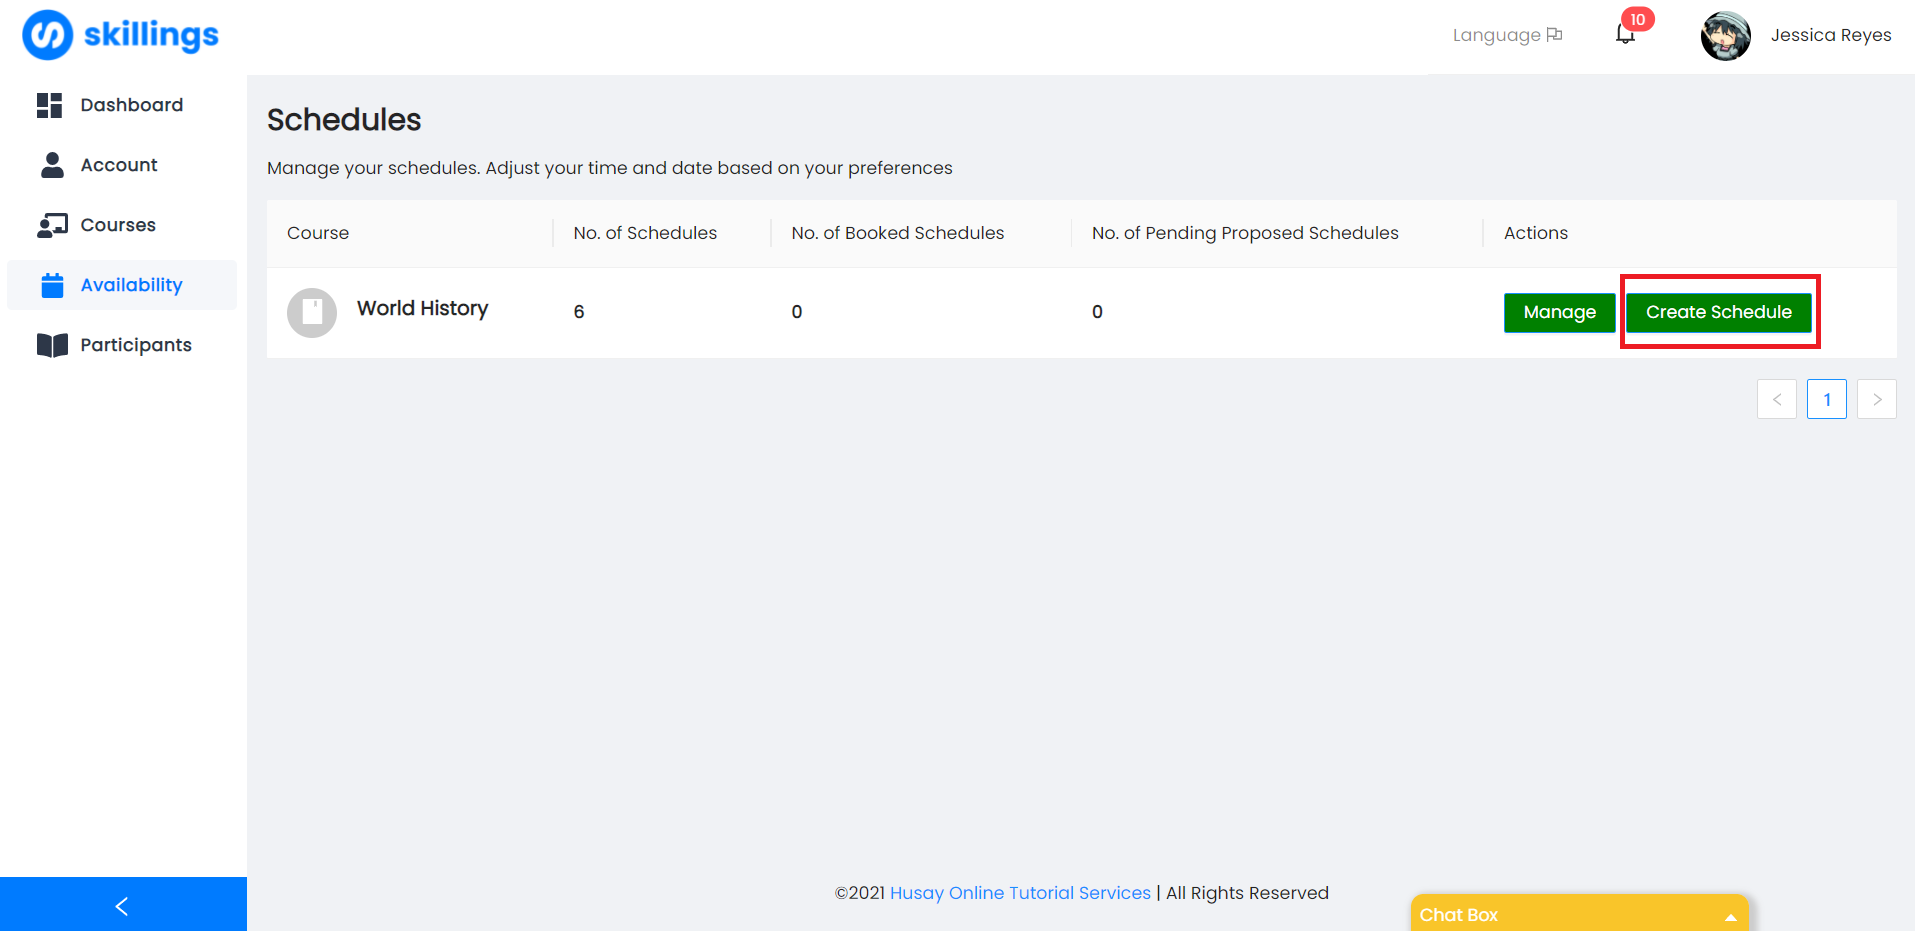
- In the tutor dashboard, on the left side of the dashboard, there are different options and buttons click on Availability to start adding schedules for your course/class.

2. Once you arrive in the Availability page, select the course/class of your choice and click the Create Schedule button.
3. After that, you can now plot your schedule/class time in the calendar. In the top right there are today, day, week, month, and settings. Clicking today, day, week, and month allows you to see the calendar in different ways like watching the schedules by day, by week, or by month. Additionally, settings allows you to set the default values (paid booking or trial booking and number of participants) when you plot the schedule on the calendar. Note: You can plot many dates and times whatever you want.


4. When you plot a schedule in the calendar, you have different options; First of all, you can change the time on the left side of the date and the time is set by 30 minutes difference. Second there is a switch button that allows you to choose whether that schedule is a paid course or a trial course. And lastly, you can edit the number of participants that could join in that schedule. After plotting you can click the Submit button in the bottom right of the calendar and a prompt will say that your request dates is successfully proposed and awaiting to be accepted by the company.


Note:
Paid Bookings are bookings/lessons to be paid by a student or a tutee.
Trial Bookings are bookings/lessons that are FREE of charge. No payment is required by a student or a tutee. This is for Trial or Demo Purposes only
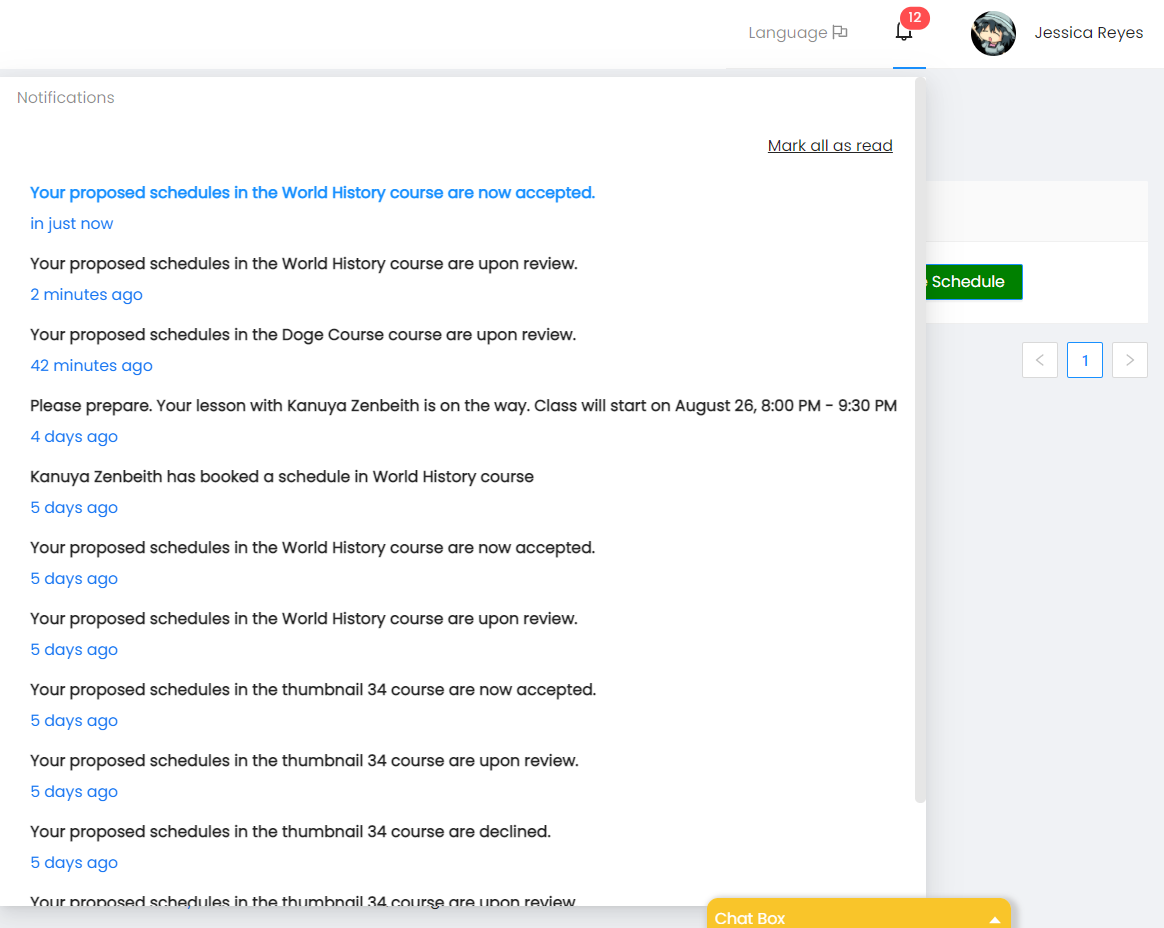
You will be notified when your proposed scheduled is accepted or decline when you click the bell icon and see whether your proposed schedule is accepted or declined in that course.
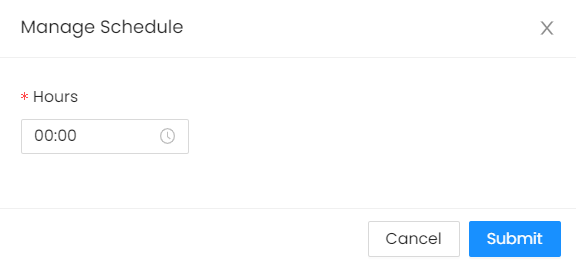
5. After knowing that your schedule is accepted, you can check your accepted schedules by clicking Availability then the Manage button to show the list of Schedules.

6. In the Manage page you can edit or set due date of that schedule. In edit, you can add more scheduled time on that day and the number of participants that are allowed to enroll in that time. After editing, adding, or updating the time click the Update button. all changes undergo first to the company for review. Set due date sets the time when the schedule is unavailable to be enrolled by the student. (example: if set 3:00hrs then the schedule is not available 3 hours before the class starts.)